How to Convert Drawing Into Vector Art in Photoshop
Turn Your Sketches & Doodles Into Vector Fine art – I love to doodle and honestly, I don't do it enough. On the list of everything I accept to do in my life, doodling ranks pretty low (shocking, I know) only at that place's something about doodling… it helps me relax, focus and just exist in the moment. Fortunately, from time to time in my job, I need to draw something and plow it into a vector prototype. I wanted to share this technique with you so that yous tin can plow your works of art into amazing vector graphics too. This tutorial requires a scanner, Adobe Photoshop and Adobe Illustrator (I use CS6).
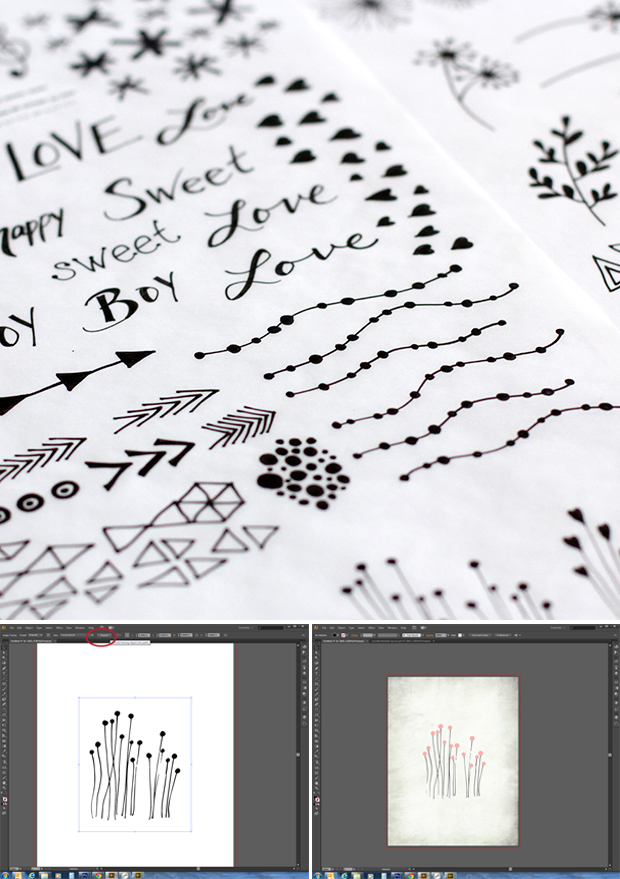
- Create the sketches that y'all'd similar to convert into digital vector fine art. I like to use Pigma Micron pens considering they come in various thicknesses, are a rich black colour and they write beautifully merely use whatever you adopt. I also like to use tracing paper to sketch on – information technology'south cheap and at that place'due south a polish quality to the newspaper that'southward really nice.
- Scan your sketches with a flatbed scanner. Scan at a high resolution of at least 400 dpi while using the greyscale setting.
- Open your scanned sketch into Photoshop and brand sure your file is in the RGB colour way.
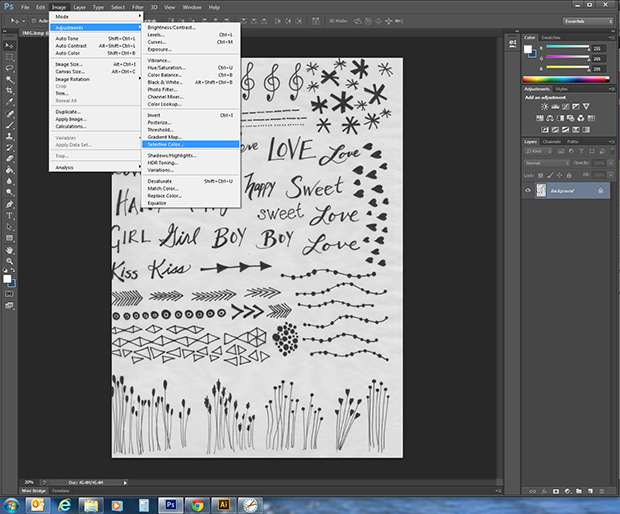
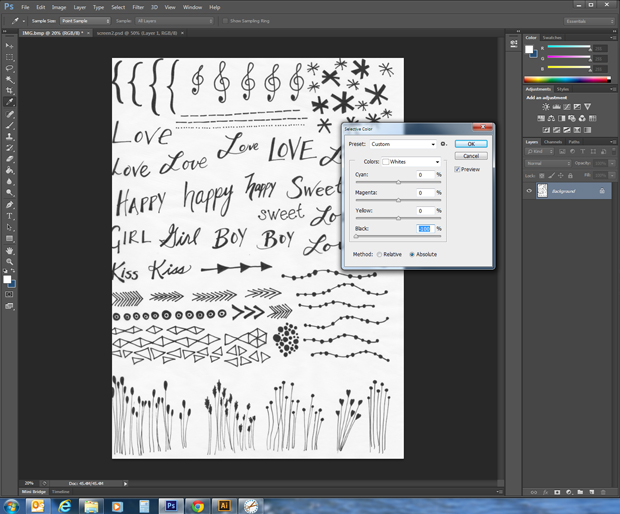
- Go to Epitome > ADJUSTMENTS > SELECTIVE Colour. Toggle the colour to WHITE and using the slider, move to -100% blackness with the ABSOLUTE radio push button clicked on. Then toggle to BLACK and using the slider, mover to 100% black.
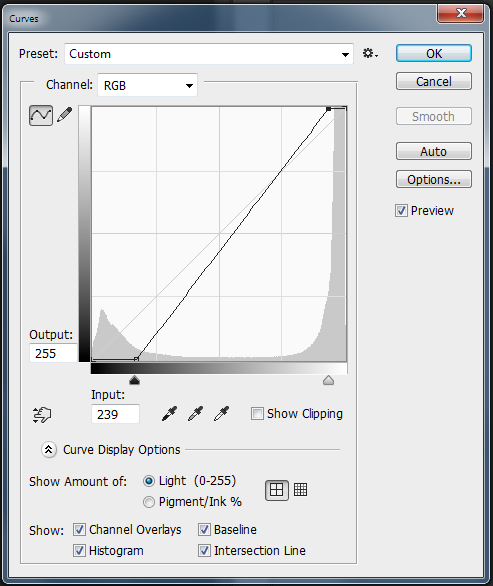
- Go to IMAGE > ADJUSTMENTS > CURVES. Grab the tiny black foursquare at the top right of the graph and slide it over slightly towards the left (not downward at all) and and then grab the tiny black square at the lesser left of the graph and motion it slightly to the right. You'll take to eyeball this a chip and see what looks best. The goal here is to make the white as white as possible without washing out any black while making the black very dark without turning any of the white to gray.There are many means of adjusting colours in Photoshop as well SELECTIVE COLOUR and CURVES. You lot tin also use BRIGHTNESS/SHADOWS equally well equally LEVELS to achieve your desired outcome. Feel free to employ what you lot're comfy with.
- In one case you're satisfied with the colour settings, crop your folio to select the part of the image you want for your design. You may too bring in the unabridged folio into Illustrator if yous have multiple sketches, convert them all together and then only pick out the selections you're after… whatever works best for you. Save your image.
- Select the unabridged image and copy or employ CTRL+C and and then open up a new page in Illustrator and paste in your sketch onto the canvass. Feel free to enlarge the sketch slightly (call up to concur SHIFT + ALT to constrain the proportions).
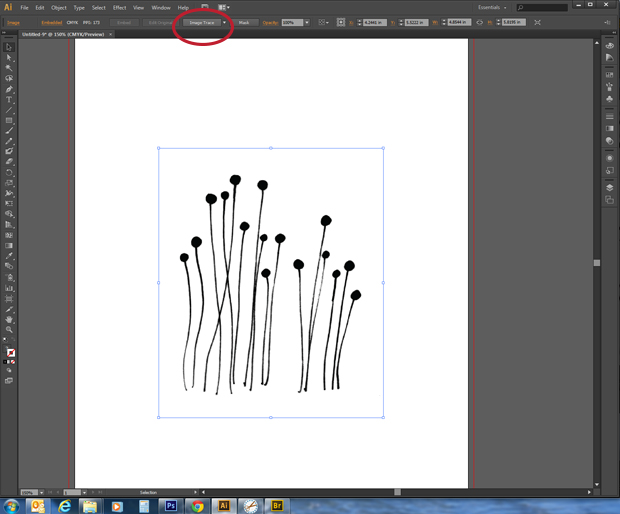
- Select your image using the Option tool (black pointer) and you'll notice that in the properties bar at the top, a LIVE TRACE button will appear (or IMAGE TRACE depending on which version you have). Click on the LIVE TRACE or IMAGE TRACE button. (If you're non super happy with the results, you can click on the white arrow to the left of the IMAGE TRACE button and play around with the various settings – I find the Blackness and White Logo setting tin work well likewise). Once y'all've clicked the LIVE TRACE or Prototype TRACE push button you'll observe that information technology now says Expand. With your image even so selected, click on the EXPAND button.
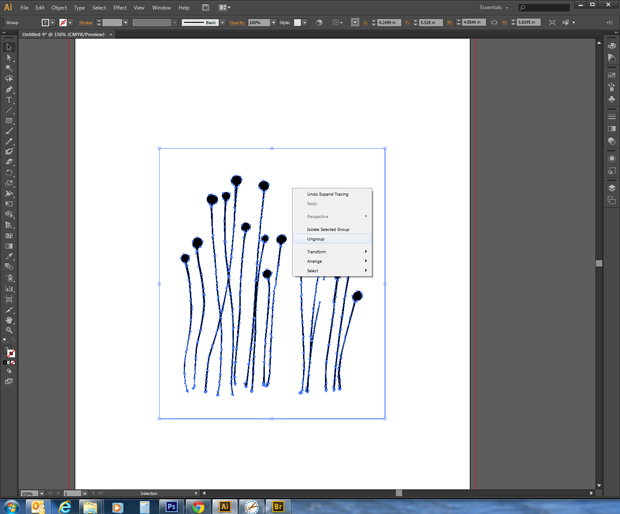
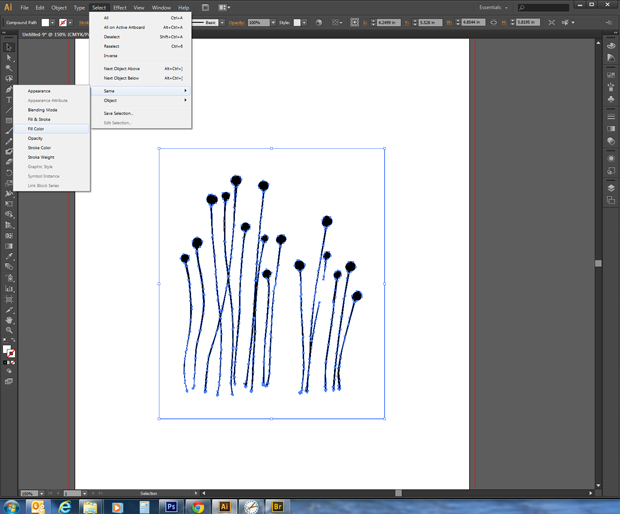
- With the epitome selected, right click your mouse and toggle down to UNGROUP and click on it. At present, click on a white expanse of the drawing and then that information technology's selected and then go to SELECT > SAME > FILL COLOUR and all the white in your image will exist selected, hitting the DELETE button. Yous desire to get rid of all the white sections of your image.
- Select all the black items on the canvas, correct click your mouse and toggle down and click on group. Now your sketch is all grouped together. (Don't carp with this step if you'd like to move the diverse elements of the image effectually on the page or modify them individually).
- At this point you can get creative, add together colour and use the vector on top of backgrounds, photos, etc. Use your vector to create or heighten your very own piece of work or art.

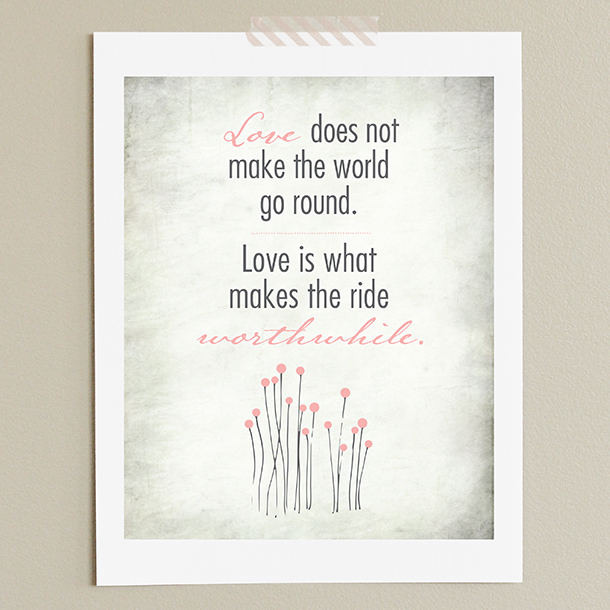
Feel free to download this printable here. Bask!


Source: https://dabblesandbabbles.com/turn-your-sketches-doodles-into-vector-art-tutorial/
Post a Comment for "How to Convert Drawing Into Vector Art in Photoshop"