How to Add a Shadow to Pixel Art Photoshop
Adding shadows to your photo is vital to grounding an object in a scene when you are making a blended prototype.
In this article, you'll run into how to make a shadow in Adobe Photoshop. Both to a white background photo and a natural landscape scene.
Permit's become started with this simple Photoshop tutorial.
[Notation: ExpertPhotography is supported by readers. Product links on ExpertPhotography are referral links. If y'all utilize one of these and buy something, we brand a niggling scrap of money. Need more info? Encounter how information technology all works here.]


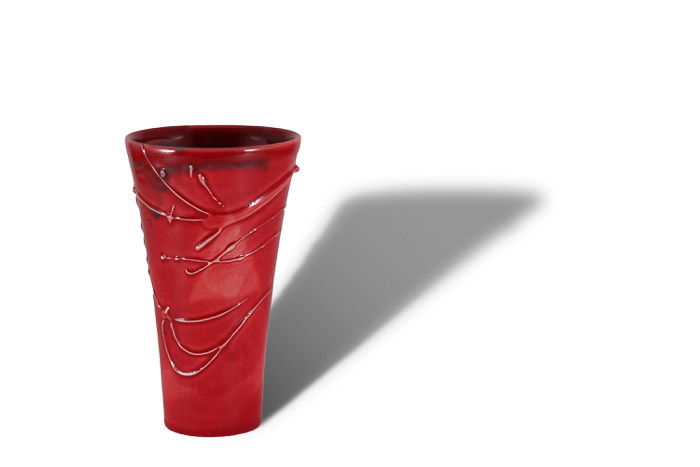
How to Add Shadows to a White Background
A blank white sheet is the easiest identify to brainstorm if you want to create a shadow in Photoshop. And you can practice the basic steps needed for creating realistic shadows.
White backgrounds are very typical of product photography. But these images don't contain shadows when photographed in a lightbox.
Hither y'all're going to see how to make a nice soft drop shadow. Not a hard one like you'd get from a direct strobe flash.
Create a Drop Shadow
The start stride is to create a drop shadow. This is a fairly straight frontward job.
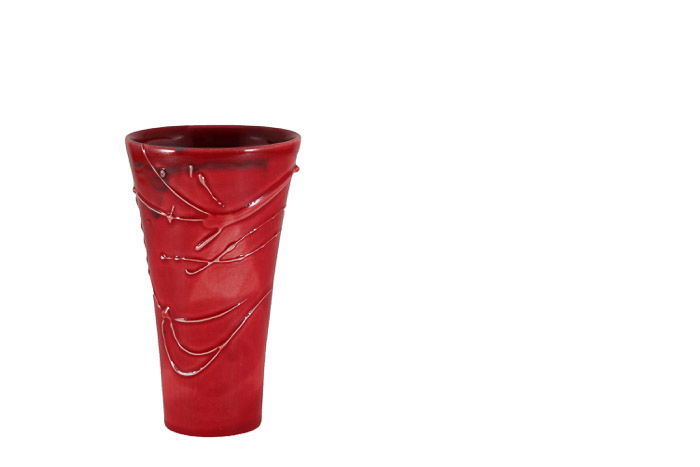
- Cut out your object from another picture. This should be easier if you have a product photograph already taken against a white groundwork. Apply the Object Selection Tool (keyboard shortcut W) to brand the selection easier.
- Import your image into a bare Photoshop certificate. In this Photoshop document, yous'll want a new background layer set to white, and a layer to identify your object.
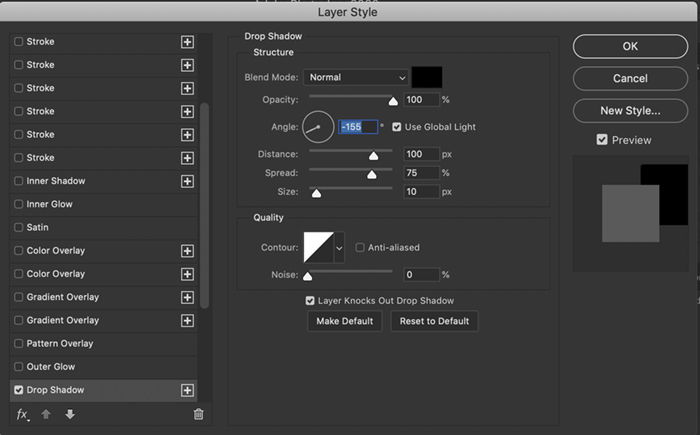
- In the layer with your object, click the Layer Effects. Discover this in the at the lesser of your layers window. It says"fx". Select the choice to create a driblet shadow. You tin now dispense the issue. You can change the shadow colour (default is black), and the opacity, angle, size and altitude.
Hither are the settings in the Layer Effects dialog box.
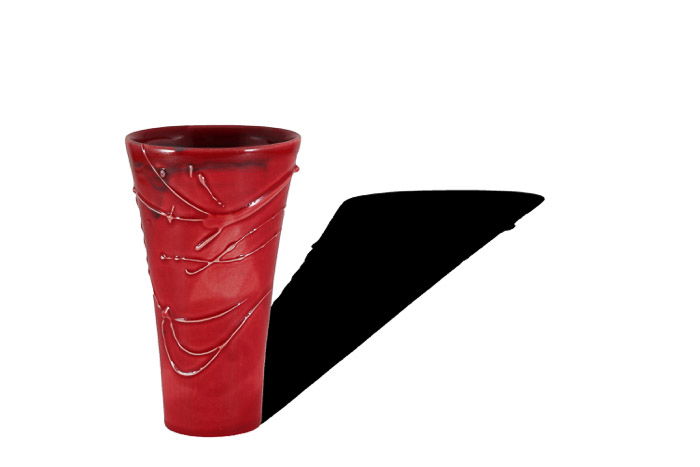
The drop shadow needs to be stretched out, and so it appears more realistic.
Make the Shadow Realistic
The next pace is irresolute that shadow into a realistic shadow. Alter the drop shadow into a new layer. At present you tin can manipulate information technology on its own. Follow these steps to make this happen:
- On the layer containing your shadow. Right-click on the fx symbol that has at present appeared. Select Create Layer. A new layer should announced containing only the drop shadow.
- Now yous'll want to change the direction of the shadow. Using your dropdown menus, select Edit>Transform>Skew. Utilise the top two anchor points to drag the shadow out. In this example, I volition drag the shadow to the right. Y'all tin adjust how much yous want the shadow to come from the side. In this case, I'll drag to around 45 degrees.
- The shadow is now very long, so you tin arrange this also. Go to Edit>Transform>Scale. You'll now be able to change the length of the shadow by dragging the top anchor up or down. In this case, the shadow length has been shortened.
- Finally, you lot'll demand to warp the shadow, so it however fits with the object that is casting it. You'll need to ensure that the base of the shadow is however in contact with the base of the object. Select Edit>Transform>Warp. Drag the anchor points to make certain the shadow is in the correct position.
Finishing Touches
This shadow should be stronger near the base, and more diffused, lighter near the height. To do this, create a second shadow layer.
- Select your shadow layer and go to Layer>Duplicate Layer (Ctrl or ⌘J). You now have a copy.
- Click on the offset shadow layer. Enter 90% into the Fill box plant near the top of the layers window. This is the darkest function of your shadow. Now, click on the layer re-create and enter 40% into the Fill box. This is your light shadow. Deselect the center icon to the left of the layers to see the change in the strength of the shadows.
- At present, adjust the sharpness of the shadow. Information technology should be more diffuse the further away from the object it becomes. To do this, y'all'll need to add a Gaussian blur. Click on the light shadow layer. Become to Filters>Blur>Gaussian blur. In the dialog box, set the pixel radius around 25. Click on the dark shadow and add together most five pixels of mistiness. Y'all can brand the shadow sharper or more than diffused by adjusting the pixel radius to your liking.
- The last job is applying gradation so that your shadow goes from darker to lighter in a seamless transition. Get-go, apply a white layer mask to your dark shadow. Yous can practice this by clicking the Layer Mask tool at the bottom of the layers window. It looks like a rectangle with a circle inside. Or you tin select Layer>Layer Mask>Reveal All.
- Now, select the slope tool on the left-hand menu. Ensure you have the groundwork set to white, and foreground set to black. Select a point effectually halfway upward through the shadow, and drag the gradation back through the object casting the shadow. The darker part of the shadow should be closer to the object. The more graduated you want the shadow, the longer the line needs to be. Re-create your layer mask onto the low-cal shadows layer by pressing the selection primal and dragging the layer mask. Capsize the layer mask copy by selecting Image>Adjustments>Invert (Ctrl or ⌘I).
You're done! Your shadow should look natural – equally if it'south always been there.
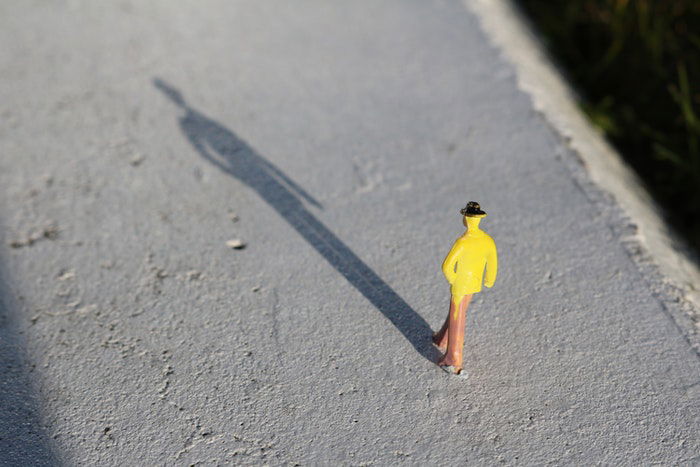
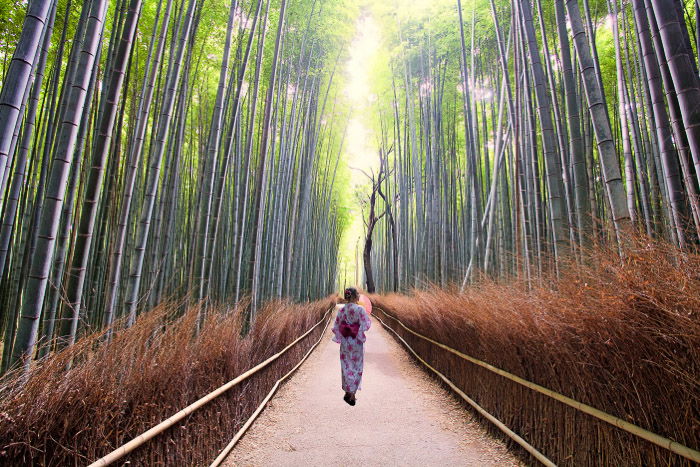
How to Add Shadows to a Mural Scene
Look for the Light Source
Compositing an image into a scene that has natural calorie-free needs care and attention. I of the nigh of import aspects is calculation a shadow to get with the blended image. To exercise this, you'll need to encounter where existing shadows in your scene fall. That means looking at objects within your frame to see the management of the calorie-free.
You'll also want to brand sure your shadow matches the color cast of other shadows in your scene.
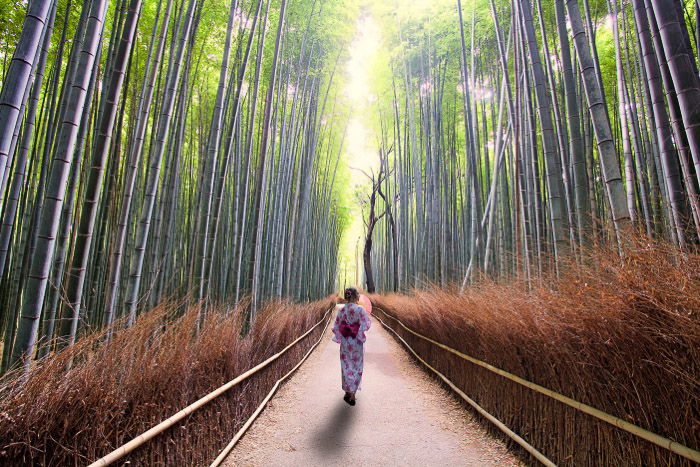
In the scene called for this tutorial, the low-cal is in front end of the camera. The bamboo forest has also diffused it.
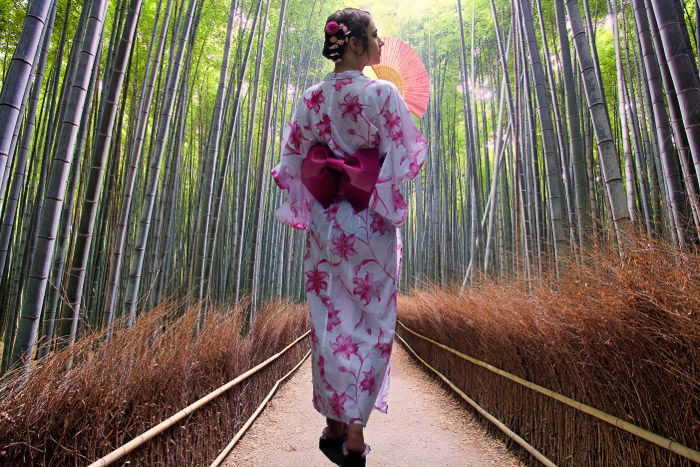
Paste Your Object Into the Scene
Our object is a person. This person has been cut out of a photo taken on the same day as this photo. This helps the light on the model to be consistent with the rest of the scene. But we need to add the shadow. Here's how:
- Create a new layer in Photoshop and then paste the object or person into the scene.
- Resize the object to fit the scene. To do this, go to Edit>Gratis Transform (Ctrl or ⌘T). Now drag the anchor points to adjust the size of the object. Concord the shift key down to proceed everything in proportion. In my example, I used the fence as a indicate of reference for the model's height.
- Using the movement tool, place the object or person in the scene.
Shape Your Shadow
- In the layer with your object, add a Drop Shadow Effect (fx icon). Alter the shadow's color, opacity, angle, size and altitude, so they make sense in your image. If you have a motion-picture show with existing shadows, match their colour when creating a new 1. Utilise the dropper tool for this.
- Correct-click on the fx symbol that has now appeared in your layer and select Create Layer. A new layer should appear containing but the drop shadow.
- Use the transform tools described to a higher place (skew, scale, and warp) to adjust the shadow to make sense in the image. This time I wanted to bring the shadow forward, as the main light source is coming from behind the bamboo forest. In this photo, I'm keeping the shadow within the frame, and pushing it slightly to the left. Grab the top anchor and drag it forward, and and so lengthen the shadow to your liking. You may one time once more need to use the warp function within transform to make sure the shadow is nonetheless connected to the model.
- If the light source is behind the object, you may desire to starting time flip the shadow vertically by going to Edit>Transform>Flip Vertical.
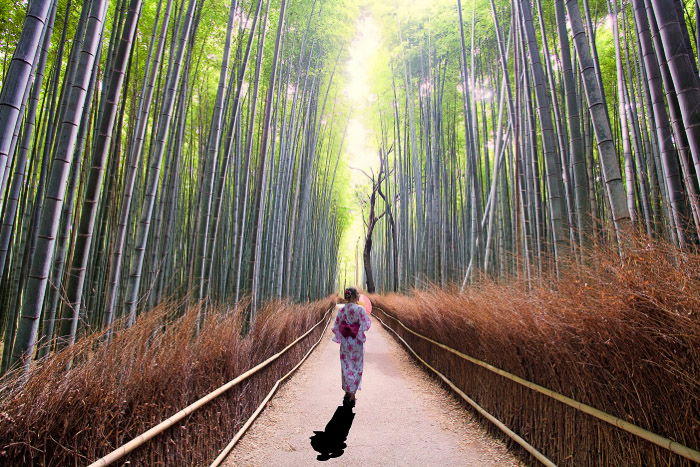
Soften the Shadow
Now, you'll demand to soften the shadow. Use the same process as before following the steps in the "Finishing Touches" department of this commodity. Alter the fill and add a layer mask with a gradient tool.
The key difference hither is that the shadow is going to be more than diffused for this photo. In the Gaussian mistiness dialog box for the darker shadow, the pixel radius is set to 25, and the lighter shadow is set to 50.
Conclusion
Calculation a Driblet Shadow Layer Effect is easy in Photoshop. The trick is adjusting the result, then information technology looks natural.
There are three key steps:
- Add a new layer from the layer upshot.
- Adapt the size and shape of the layer to make a more realistic shadow.
- Utilise the gradient tool to fade the shadow.
If you lot're new to this technique, I hope you'll enjoy this, and try it yourself. As always delight leave your thoughts, and whatever pictures you have in the comments department.
Are you looking for more than great Photoshop tips? Why not bank check out our new post on using the photoshop warp tool side by side! For all you need to know well-nigh Lightroom, try our Effortless Editing grade!
Source: https://expertphotography.com/how-to-make-a-shadow-in-photoshop/
Post a Comment for "How to Add a Shadow to Pixel Art Photoshop"